Allison

Vamp Moderne by ajr51594

Gothic Bride by ajr51594
 This is the Pink Slipper ornament. This poor baby sat unfinished on my desk for weeks before I finally was able to put the rosette on top. From there it only took about 15 minutes to finish! My hubby was stunned and suggested I make another one and "take some time with it" if I wanted to give it as a gift. I guess that's part of my creative process. While it sat on my desk, I was busy "finishing" it in my mind. I knew exactly what I wanted to do... just needed that rosette! I wish you could see the sparkle all over. I did buy myself some silver Krylon glitter spray and this little shoe got a generous dose.
 Tis the Season Dear! Or should I say, Deer? I really love this ornament. It has a large rosette, silky green ribbon, tons of glass glitter and a cute baby deer. A lot of this paper came from a scrap swap I did at Swap-bot.com. The deer is a sweet bit of clip art from the internet. I bought the glitter at American Harvest in Pleasanton. Their shop is a true winter wonderland right now! I am not ashamed to say that I was influenced and inspired by the gorgeous art they have in their store.
 So, I whipped up ornments #1 and #2 at lightning speed. But what to do about #3? I have 3 crafty friends and I wanted them each to have something unique and special. After perusing Etsy.com to see what the folks there were making, I decided to go with an ice skate design. I found this adorable template on Paper Craft Inspirations website. I liked the curliness of the blade and the high, slim ankle of the boot. I used lavender paper and a whole lot more glass glitter. The "laces" are threaded through white eyelets and the hanger is just silver wire adorned with beads. I intended to make two but, sheesh, one was hard enough! Maybe next year I'll make two for myself :) I especially love the snowflake button. My Mother-in-law bought me a Dress It Up set called Dashing Through the Snow. Boy, does she know how to make me smile!


 The images in the card remind me of her. The perfume bottle for her Avon, the dragonfly for the pair of earrings she gave me and the calaca for the many Albee awards she received for her success with Avon. The flowers are marigolds, traditional altar flowers for the Day of the Dead and also represent the love and joy she brought to so many.


 This example leaves the branches natural and uses cobwebs and orange lights to make it more Halloweenie. Also, the bucket is cute, very country. OR.... I could make one out of paper or cardboard.
 This tree from HGTV is made out of plywood, but couldn't I do something similar with thick stock? Finally, I could go all the way and use paper mache or some other sort of sculpture to achieve the most detail and the most realistic effect. Also, pipe cleaners and wire seem to give that twisted, crooked, bony hands reaching for snow white in the forest look!
 I was actually a summer bride but I've been involved in two very special fall weddings. The first was my sister's wedding in 2003. It was a beautiful Catholic wedding with a classic style. My sister took care of many of the details herself and created a truly memorable work of art! I was very inspired by her conviction to stay true to her own sense of style and followed that with my own wedding even though our styles are radically different. I had the pleasure and honor to sing Ave Maria at her wedding and will never forget those precious moments. It wasn't until after my own wedding in 2005 that I began creating my bridal line of CafePress designs. I remembered how, although my sister's wedding was in the fall, she did not use fall colors. She had always wanted Blue and Lavender so, that's what she used! I was also adamant that the details of my wedding, big and small, be reflective of who Kevin and I were during that time, and not be influenced by some arbitrary rule that didn't apply to us.
 My bridal line is dedicated to the idea that every bride and groom should have free reign over their wedding plans. It is their special day, one that will always live in their memories. I envisioned the t-shirts and accessories being worn while dress shopping, creating the bridal registry, making favors and of course, bachelorette parties or bridal showers! I also created a line of post-wedding shirts for the honeymoon and beyond, for whenever a bride wants to relive that special day.
 So these designs are for those brides that don't mind being unique and standing up for their choices (so basically all you modern ladies out there ;) For instance, my friend Corissa got married at the Renaissance Faire in full Renaissance garb! It was spectacularly original and definitely true to her style. I also know a bride who wore a gorgeous red gown! Don't let anything stand in the way of making your wedding day (or any ol' day) truly yours.
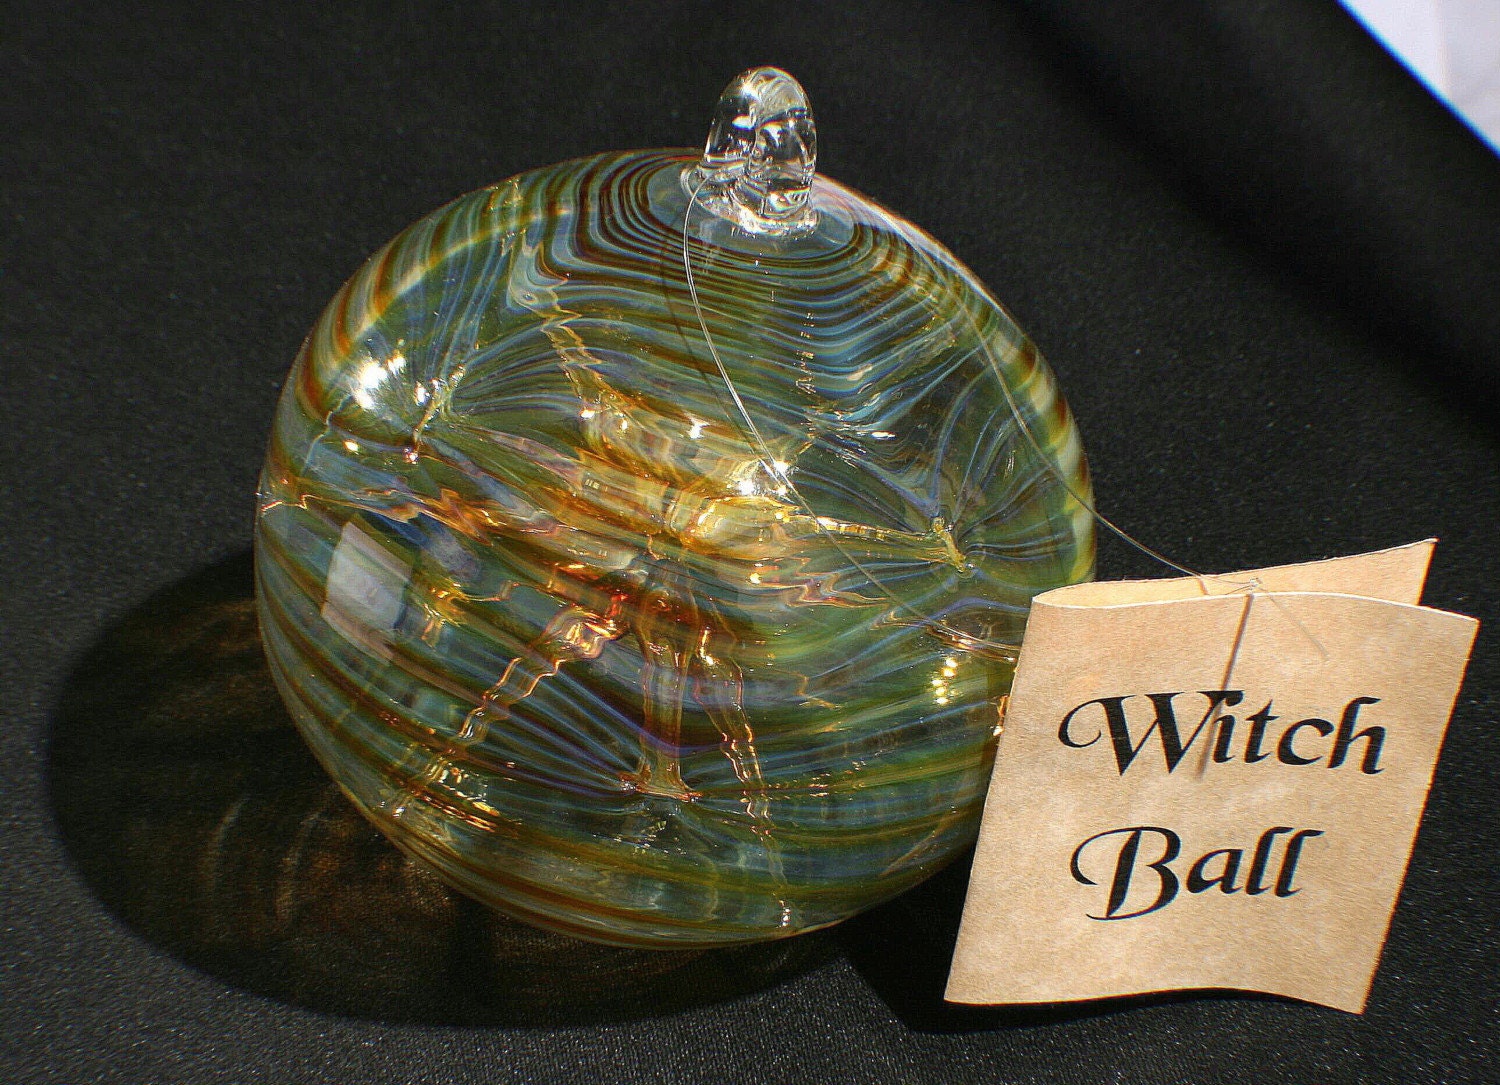 As promised, I have photos of a craft project today! The witchy jar I'm going to show you was inspired by many things I saw other great artists doing on etsy.com. For example, I love witch balls, glass orbs you hang in your window to catch bad spirits or witches (who come in the window I guess??)
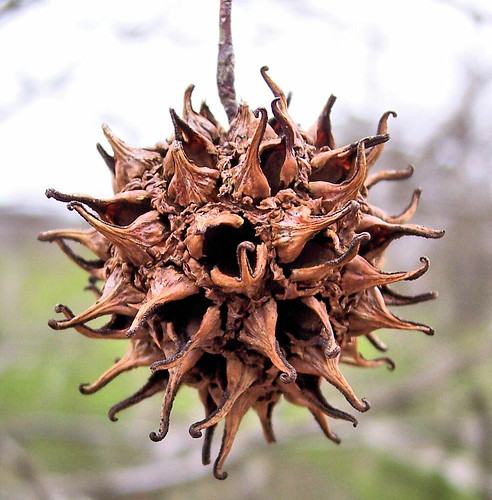
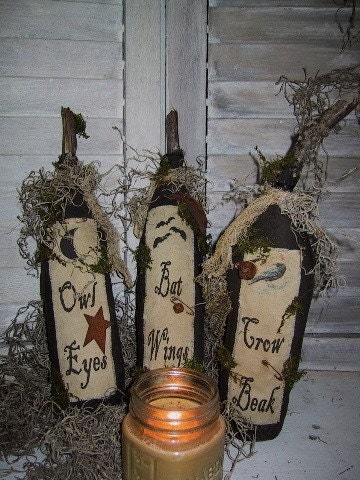
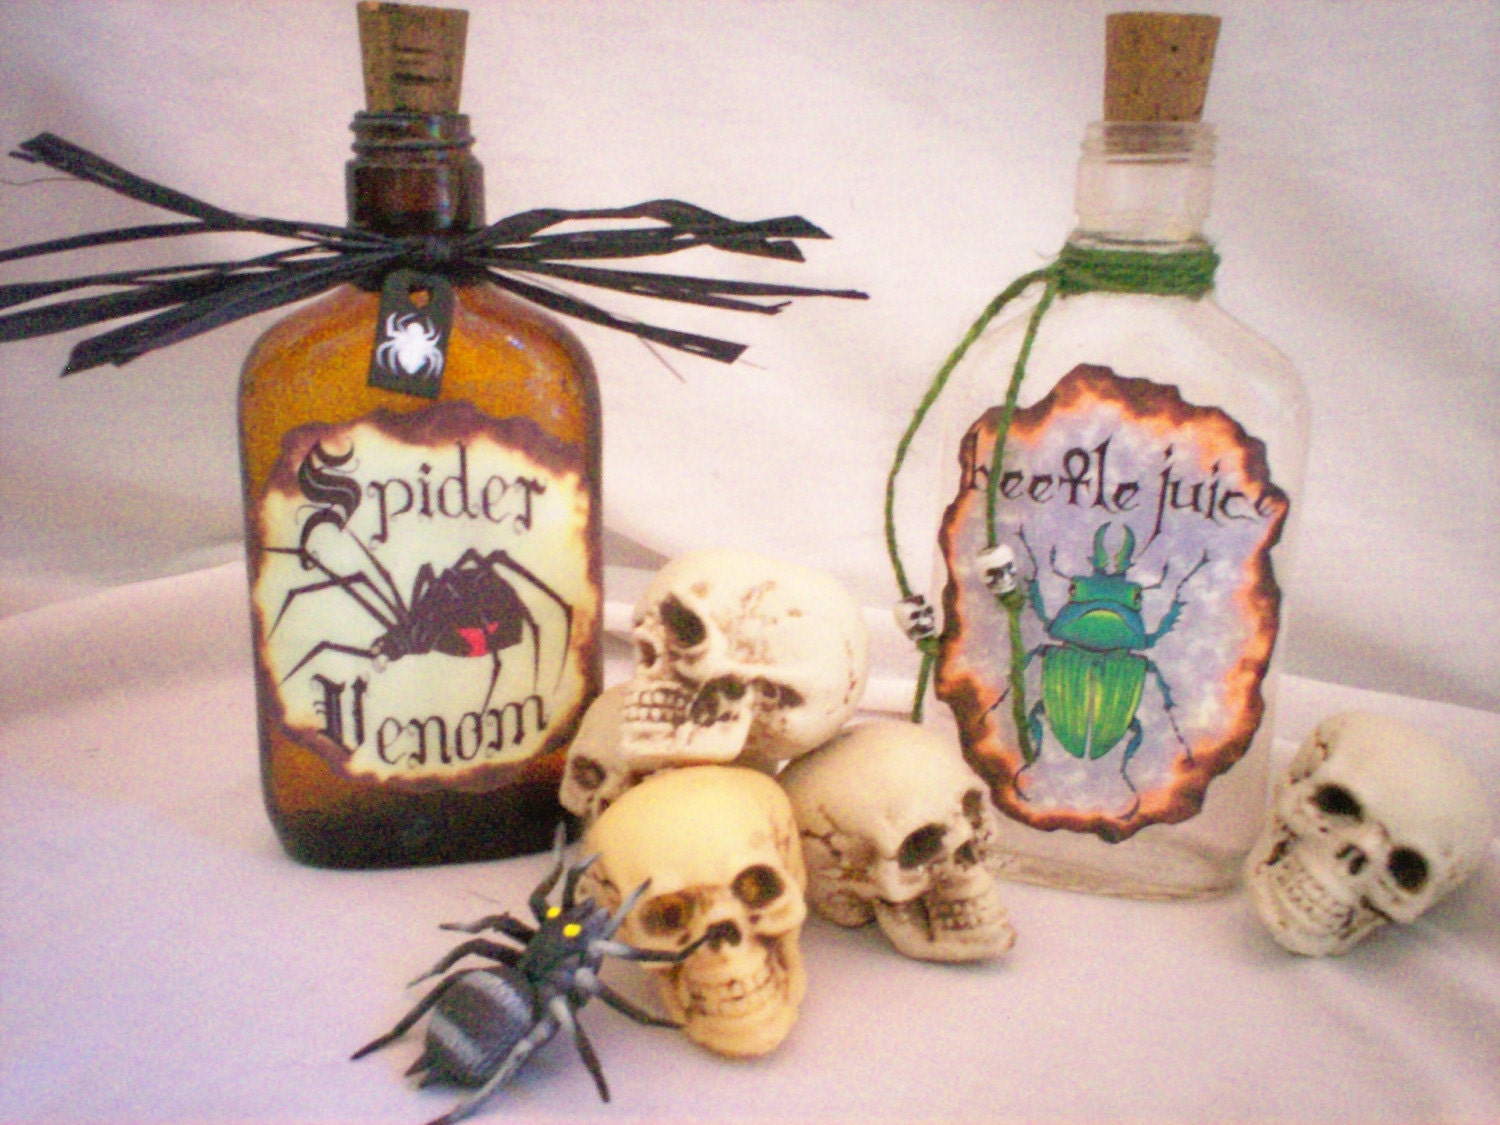


 Also inside the jar is one of those sweet gum seed pods that I scented with some essential oils. The outside is decorated with a variety of beads, eyelash yarn and feathers. I also made special embellishments like the bat pendant and a small, stamped tag on the other side. I'm really proud of it! Just to let you in on my creative process, this poor thing took me a month to finish at least. I usually don't know what my object will look like at the end so I make it up as I go along! I rely a lot on filling my head up with images from etsy, art blogs and catalogs then waiting for whatever comes out... Anyway, I've enjoyed creating this post for you all :) Please forgive my photography, hehe. My pro-photo hubby will surely be giving me some pointers in the future!


